General
Add Workspace
Set up a new brand or client workspace to track reviews and mentions independently from your existing ones.
A workspace in Subsig is a self-contained environment for one brand. Each workspace has its own review platform connections, social mention keywords, notifications, and usage quota. Use multiple workspaces when you manage more than one brand or when you're tracking a client separately from your own product.
When to add a new workspace
You manage multiple brands under one account (e.g. an agency with several clients)
You want to track a separate product with its own data, quota, and team
You're setting up a dedicated space for a new product line
💡 If you just want to track a competitor's review volume alongside your own brand, use Competitor Tracking inside your existing workspace — you don't need a separate workspace for that.
How to add a workspace
Step 1 — Open the workspace switcher
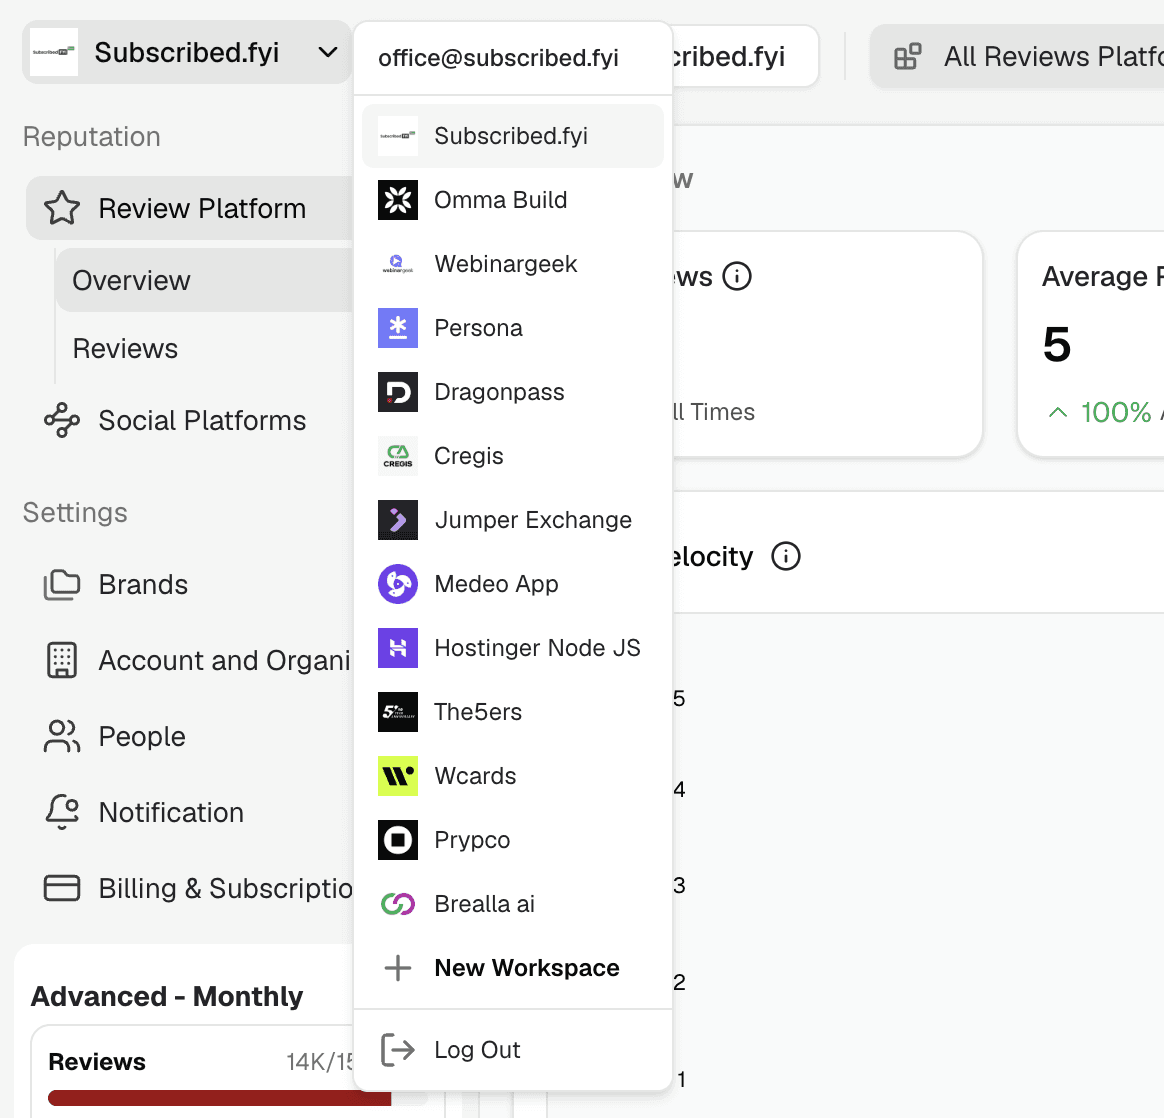
Click your current workspace name in the top-left of the sidebar. A dropdown will appear listing all your existing workspaces.
Step 2 — Click "New Workspace"
At the bottom of the dropdown, click + New Workspace. The Add Workspace modal will open.
Step 3 — Upload a logo (optional)
Click the logo placeholder in the top-left of the modal to upload a brand image. This helps you visually distinguish workspaces when switching between them.
Step 4 — Enter the workspace details
Fill in two fields:
Workspace Name — the brand or client name as you want it to appear in the switcher and across the dashboard
Workspace Website — the brand's main website URL (e.g.
https://yourproduct.com)
Step 5 — Choose a setup method
You have two options:
Magic Set Up (recommended)
Click Scan Now. Subsig will automatically scan popular review sites to detect your brand's existing profiles and suggest keywords to track on social platforms. This is the fastest way to get the workspace configured — most setups complete in under a minute.
Requires the Workspace Website field to be filled before scanning.
Manual setup
Click I'll fill manually to skip the scan and configure everything yourself. You'll be taken into the workspace where you can add review platforms and keywords one by one. Use this if your brand is new with no existing review profiles, or if you want precise control over what gets connected.
After setup
Once the workspace is created, you'll land inside it. From here:
Go to Settings → Brands → Add Review Platforms to connect your review platform URLs
Go to Settings → Brands → Overview to add or edit social mention keywords
Use the workspace switcher at any time to move between workspaces
💡 Each workspace runs on its own quota. If you're on a plan with limited mentions or reviews, those limits apply per workspace — not across all workspaces combined. Check Billing & Subscriptions to understand how your plan covers multiple workspaces.
Switching between workspaces
Click your current workspace name at the top of the sidebar at any time. The dropdown shows all workspaces under your account. Click any workspace to switch to it instantly.